Toyota Camry (XV70): Reassembly
REASSEMBLY
PROCEDURE
1. CLEAN VACUUM PUMP HOUSING
(a) Clean the inside surface of the vacuum pump housing.
2. INSTALL VACUUM PUMP ROTOR
(a) Clean the vacuum pump rotor.
(b) Apply engine oil to the areas of the vacuum pump rotor shown in the illustration.
.png) |
Engine Oil |
(c) Install the vacuum pump rotor to the vacuum pump housing.
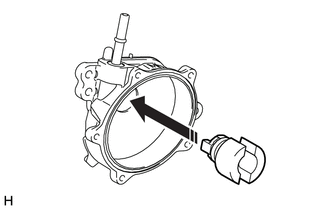
.png) |
Install in this Direction |
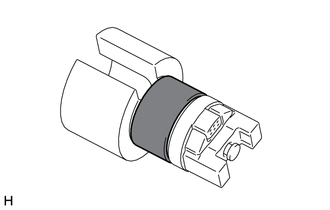
3. INSTALL VACUUM PUMP VANE AND VACUUM PUMP VANE CAP
(a) Apply engine oil to a new vacuum pump vane and 2 new vacuum pump vane caps and install the vacuum pump vane caps to the vacuum pump vane.
(b) Apply engine oil to the vacuum pump vane with the 2 vacuum pump vane caps and install it to the vacuum pump housing.
4. INSTALL END COVER
| (a) Clean the inside surface of the end cover. |
|
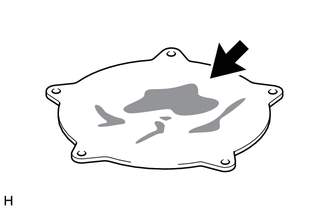
| (b) Install a new vacuum pump cover O-ring to the vacuum pump housing. NOTICE:
|
|
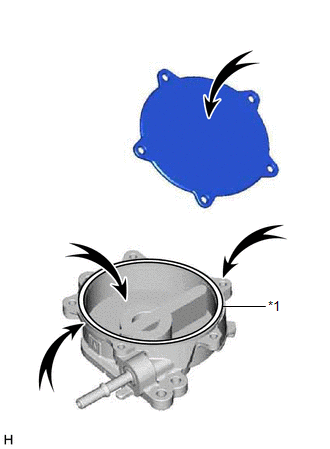
(c) Using a T30 "TORX" socket wrench, install the end cover with 5 new screws.
Torque:
7.5 N
READ NEXT:
 Installation
INSTALLATION CAUTION / NOTICE / HINT
NOTICE: This procedure includes the installation of small-head bolts. Refer to Small-Head Bolts of Basic Repair Hint to identify the small-head bolts.
Click he
Components
COMPONENTS ILLUSTRATION
*1 CHECK VALVE GROMMET
*2 VACUUM WARNING SWITCH ASSEMBLY
● Non-reusable part
- -
SEE MORE:
Hood
Release the lock from the inside of the vehicle to open the hood.
1. Pull the hood lock release lever.
The hood will pop up slightly.
2. Pull up the auxiliary catch lever
and lift the hood.
3. Hold the hood open by inserting
the support rod into the slot.
■Open hood warning buzzer
Stereo Component Amplifier Disconnected (B15D3)
DESCRIPTION The radio and display receiver assembly and stereo component amplifier assembly are connected by the AVC-LAN communication line.
DTC No. Detection Item
DTC Detection Condition Trouble Area
B15D3 Stereo Component Amplifier Disconnected
When either of the fol
